Deploy with Image
On creating a new app, you can choose to use a custom image to deploy your app. With this, the build step is skipped, and the image you provide is used to run your app.
How to Use a Custom Image
On the app creation page, in the section Configure application you can select the Use image option (ensure you are using the CLI method to create the app).
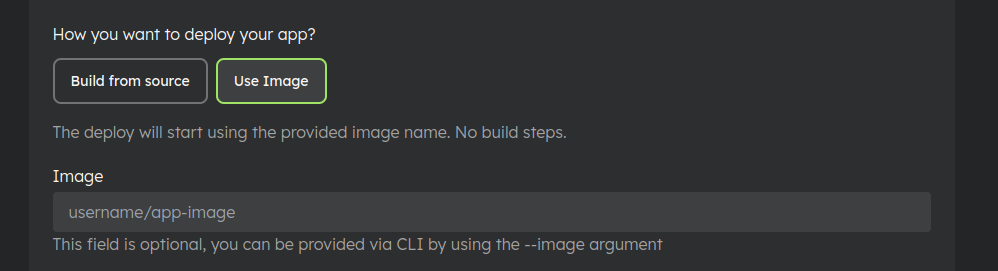
After selecting the option, you will be prompted to provide the image name.
This field is optional, and you can leave it blank if you want to provide the image name later or via CLI (using --image argument):
zcloud deploy --user-token <token> --env <env-name> --image <image-name>
Note: The provided image should be built for the architecture
linux/amd64to run on our platform.
Changing the Image
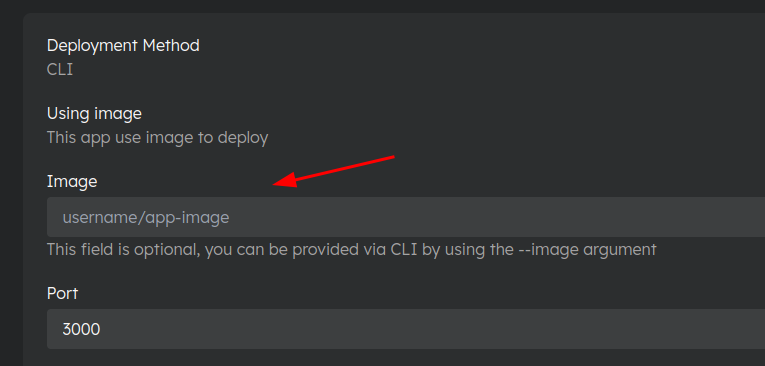
You can change the image used to run your app by updating the image name in the app settings or using the CLI:
On App edit page:
Using CLI:
zcloud deploy ... --image <new-image>
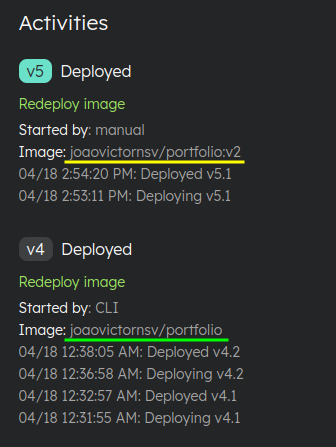
Each time you change the image, the app will be redeployed using the new image and a new environment version will be created.
Private Images
If you are using an image from a private registry, you can provide the credentials to access the image.
You can provide the credentials in the My account page under the Container Registry tab. Read more about it here.
It is important to note that images built in your account will not be sent to this registry. The credentials will only be used to download the images during deployment. However, if you would like to send your built images to the registry, please contact our support team.